Zen Blooms - Amanda Herring
Hello There,
Can you believe that we are now into July and halfway through the year.
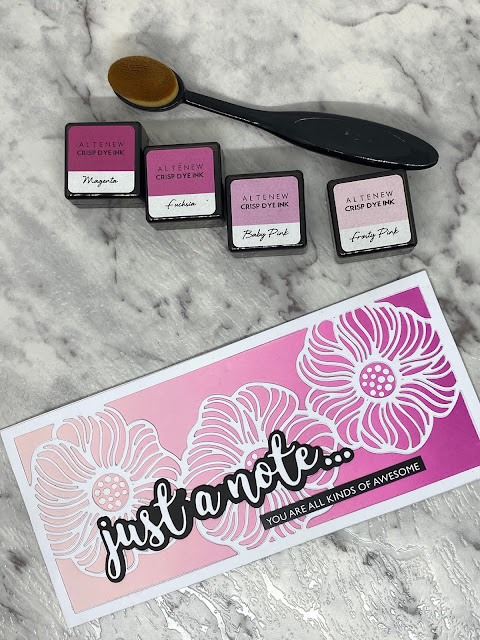
It's my turn to share another project and I have used the new Zen Blooms
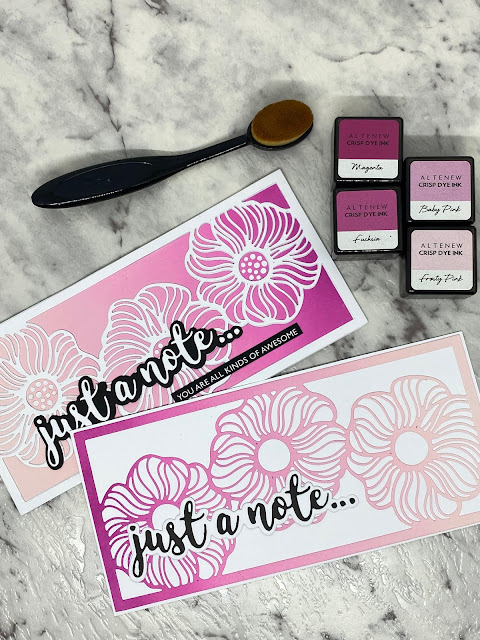
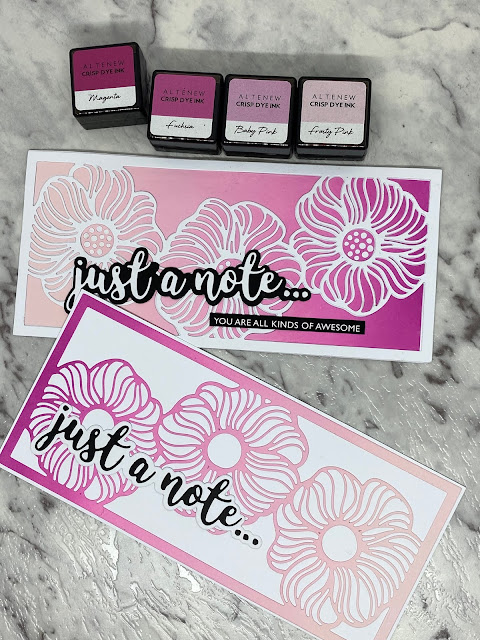
I love that with one die cut out you can create two different cards.
To create these cards I have cut out a piece of cardstock the size of my card base.
I have then used four pink coloured inks to create a blended background from light to dark.
I used a blending brush to apply the colour to my base card as it helps to create a smooth blend without lines. It does take some time to get the colour down but totally worth the effort.
Once I was totally happy with the blend I taped my die down on my base and ran it through
my Bigshot, removing it really carefully so all the cut pieces stay in place.
I then used a piece of Press n Seal to hold it all together.
Have a look at you tube as there are many videos that show you some great techniques
using Press n Seal with die cuts.
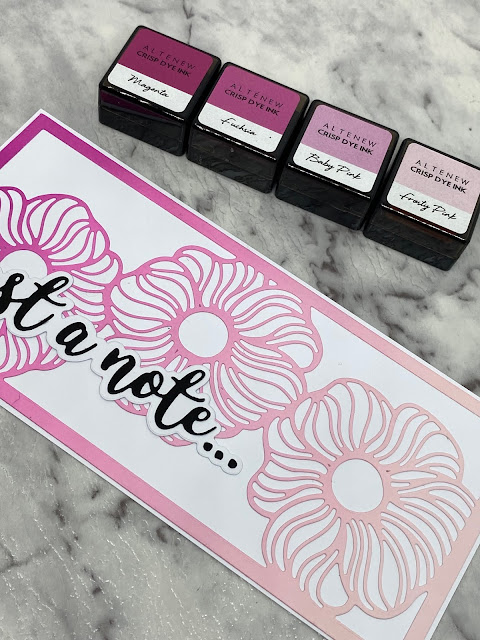
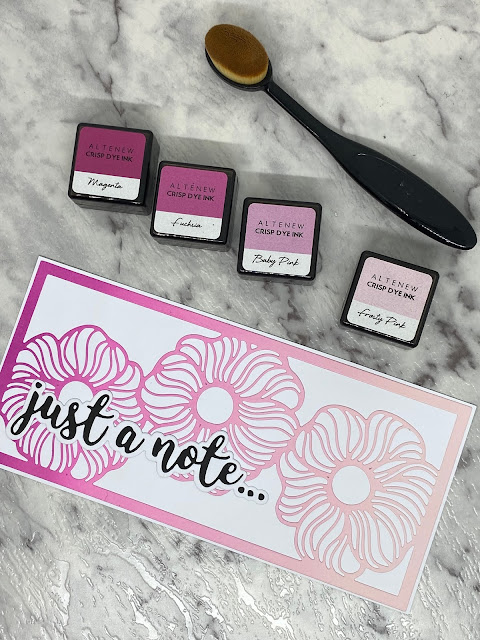
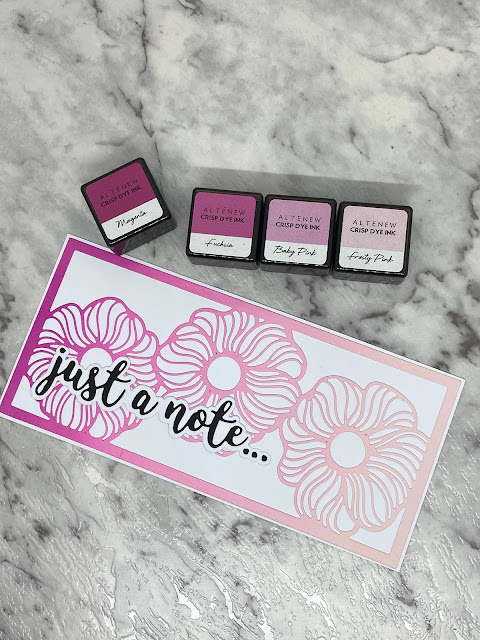
This card uses the die cut piece layered onto a white background. I love how gorgeous
the flowers look going from dark to light.
This card is the background left behind. I have cut out the flowers in white as well.
This creates a frame that all the blended cut outs have been pieced back into place.
This is where the Press N Seal helps to keep them in position allowing easy positioning.
Supplies used:
21195 Slimline Zen Blooms Die
18288 Just a Note layered word die
19023 Black & White Sentiment Sheets
18454 Blending Brush
Altenew Inks:
Magenta
Fuchsia
Baby Pink
Frosty Pink
Thanks for stopping by I will be back with another project on the 14th
Until next time
Mandy x


Leave a comment