Monotone Motorbikes - Kelly Bates
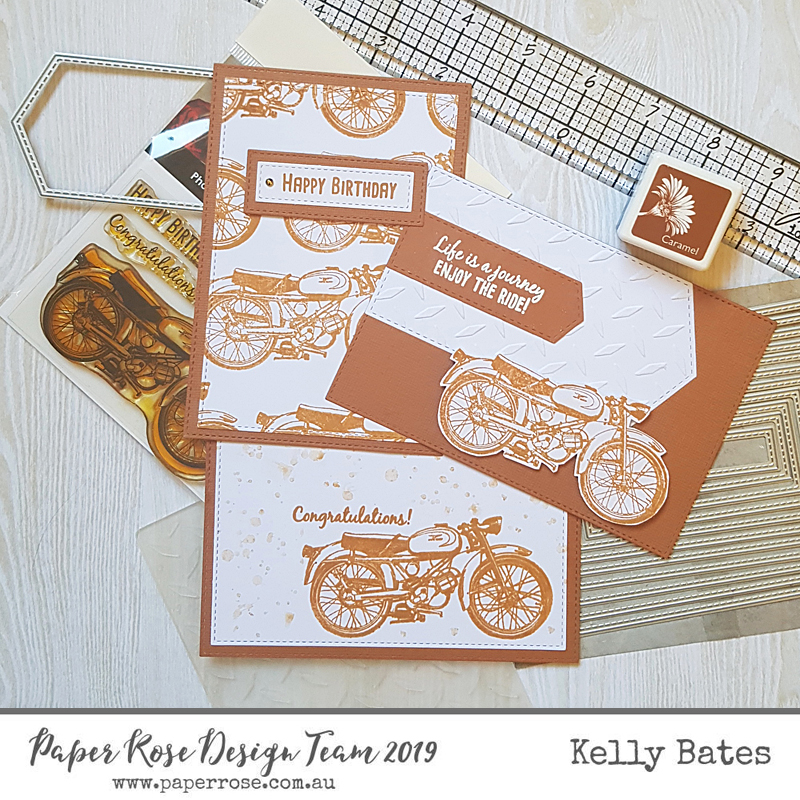
Hello friends! Today I’m sharing a card set I challenged myself to make; use one stamp set and only one colour I have a lot of male birthdays/occasions coming up so I thought it was time to bring out the Vintage Motorcycle set and see what I could come up with. Scroll down to see the results!

To recreate these cards you’ll need the following goodies:
- Paper Rose Vintage Motorcycle 3×4″ stamp set
- Paper Rose Stitched Rectangle Nesting Dies A6 (Aussie sizing)
- Paper Rose Banner 2 Large Nesting Die Set
- Diamond Plate embossing folder
- Die cutting machine
- Stamping platform/acrylic block
- Hero Arts Bold Ink – Caramel
- 1 x 15cm x 30cm piece of smooth white cardstock
- 1 sheet textured cardstock in a coordinating colour to the ink
- Glue, foam tape, scissors
- Versamark ink, White heat embossing powder, heat tool, anti-static tool
- 3 x card bases
Before starting I cut two Stitched Rectangles with the 3rd largest die from the white cardstock, and the three background panels from the coloured cardstock second largest stitched rectangle die.

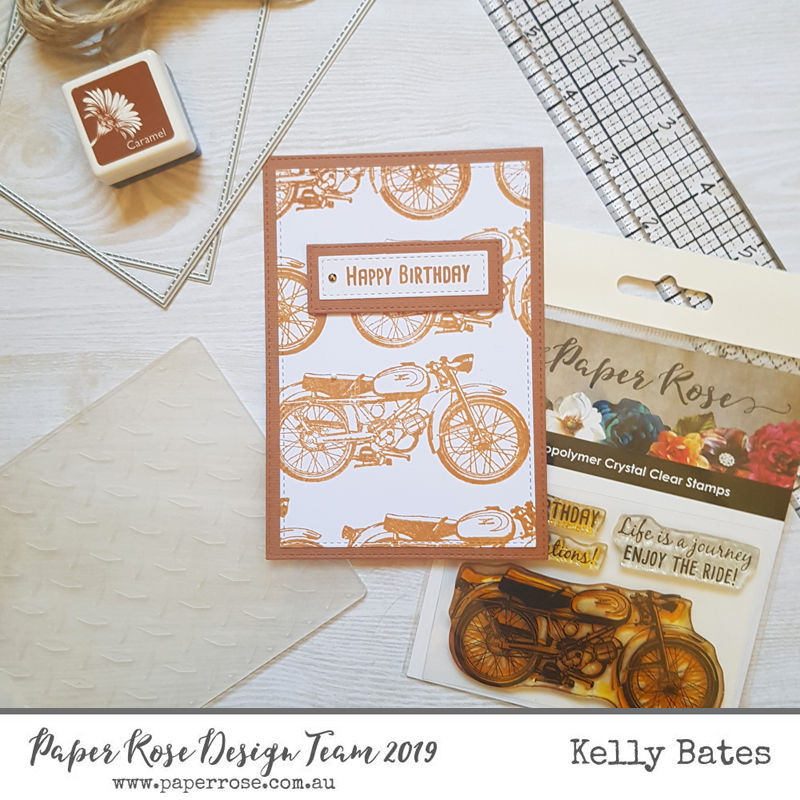
For Card One: I’ve taken the first of the white panels and stamped across it in rows with the motorcycle stamp. As I wanted the gritty vintage look I didn’t press down too hard on the platform so I could get a textured look to the bikes. I then used the second smallest rectangle die to cut a small rectangle ink the textured cardstock. I stamped the happy birthday onto a the edge of the left over white cardstock and cut it using the smallest rectangle die. I glued the sentiment to the textured piece and mounted it with foam tape. I then added a single gold rhinestone to finish, and glued it to the background panel.

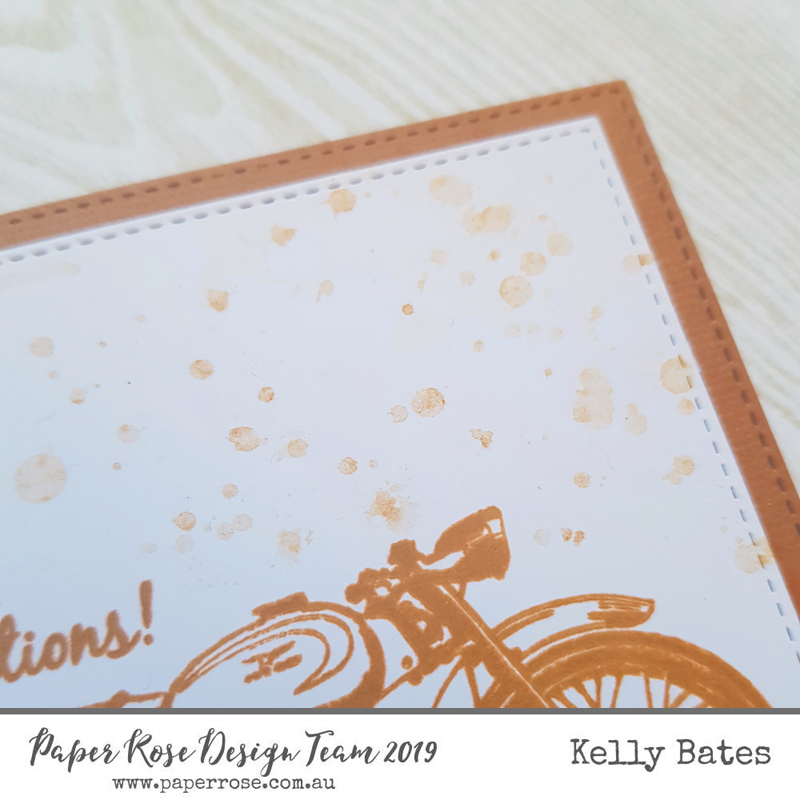
For Card Two: Using the second white panel, I stamped one motorcycle image into the bottom right corner, then stamped my sentiment directly onto the panel as well. I then covered those with a couple of post it notes, stamped my Hero Arts ink onto my craft mat and spritzed it with a bit of water. I then flicked it across the page with a small paintbrush, using my clean cloth to quickly mop of the excess water/colour. I swiped ever so slightly once in awhile to give the background a very grungy look. I attached it to the background panel once it was dried.


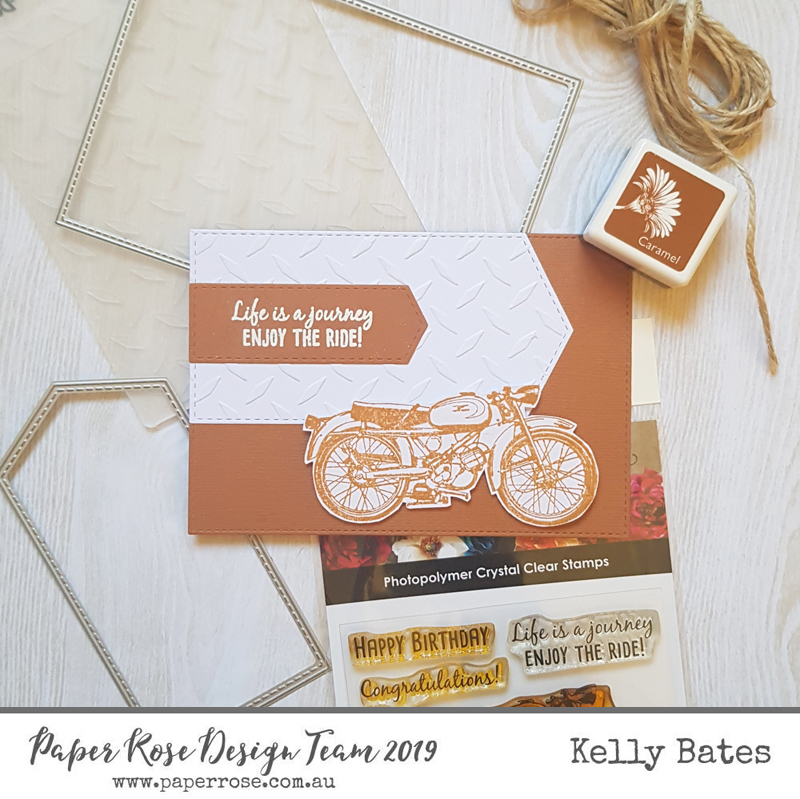
For Card Three: I took the left over white card stock and cut a 6.5cm x 12.5cm piece and ran it through my die cut machine inside the diamond plate embossing folder, then cut out the banner with the 5th largest banner die. Using the last piece of the white cardstock I stamped one more motorcycle and fussy cut it out (there is a matching die if you prefer to use one of those instead!). I then took a piece of the leftover textured cardstock, flipped it over to it’s smoother side and stamped my sentiment onto it in Versamark, and white heat embossed it, and then cut it from the second smallest of the banner dies. I then assembled my card; attaching the diamond plate to the top left first of the background panel, then mounted the motorcycle with foam tape, then I added my sentiment strip.
Thanks for stopping by.. Kelly


Leave a comment