Merry Christmas Easel Card - Kelly Bates
Hello friends! Today I’m sharing a fun easel card design using Chipboard stars as my focal piece so let’s get into it!
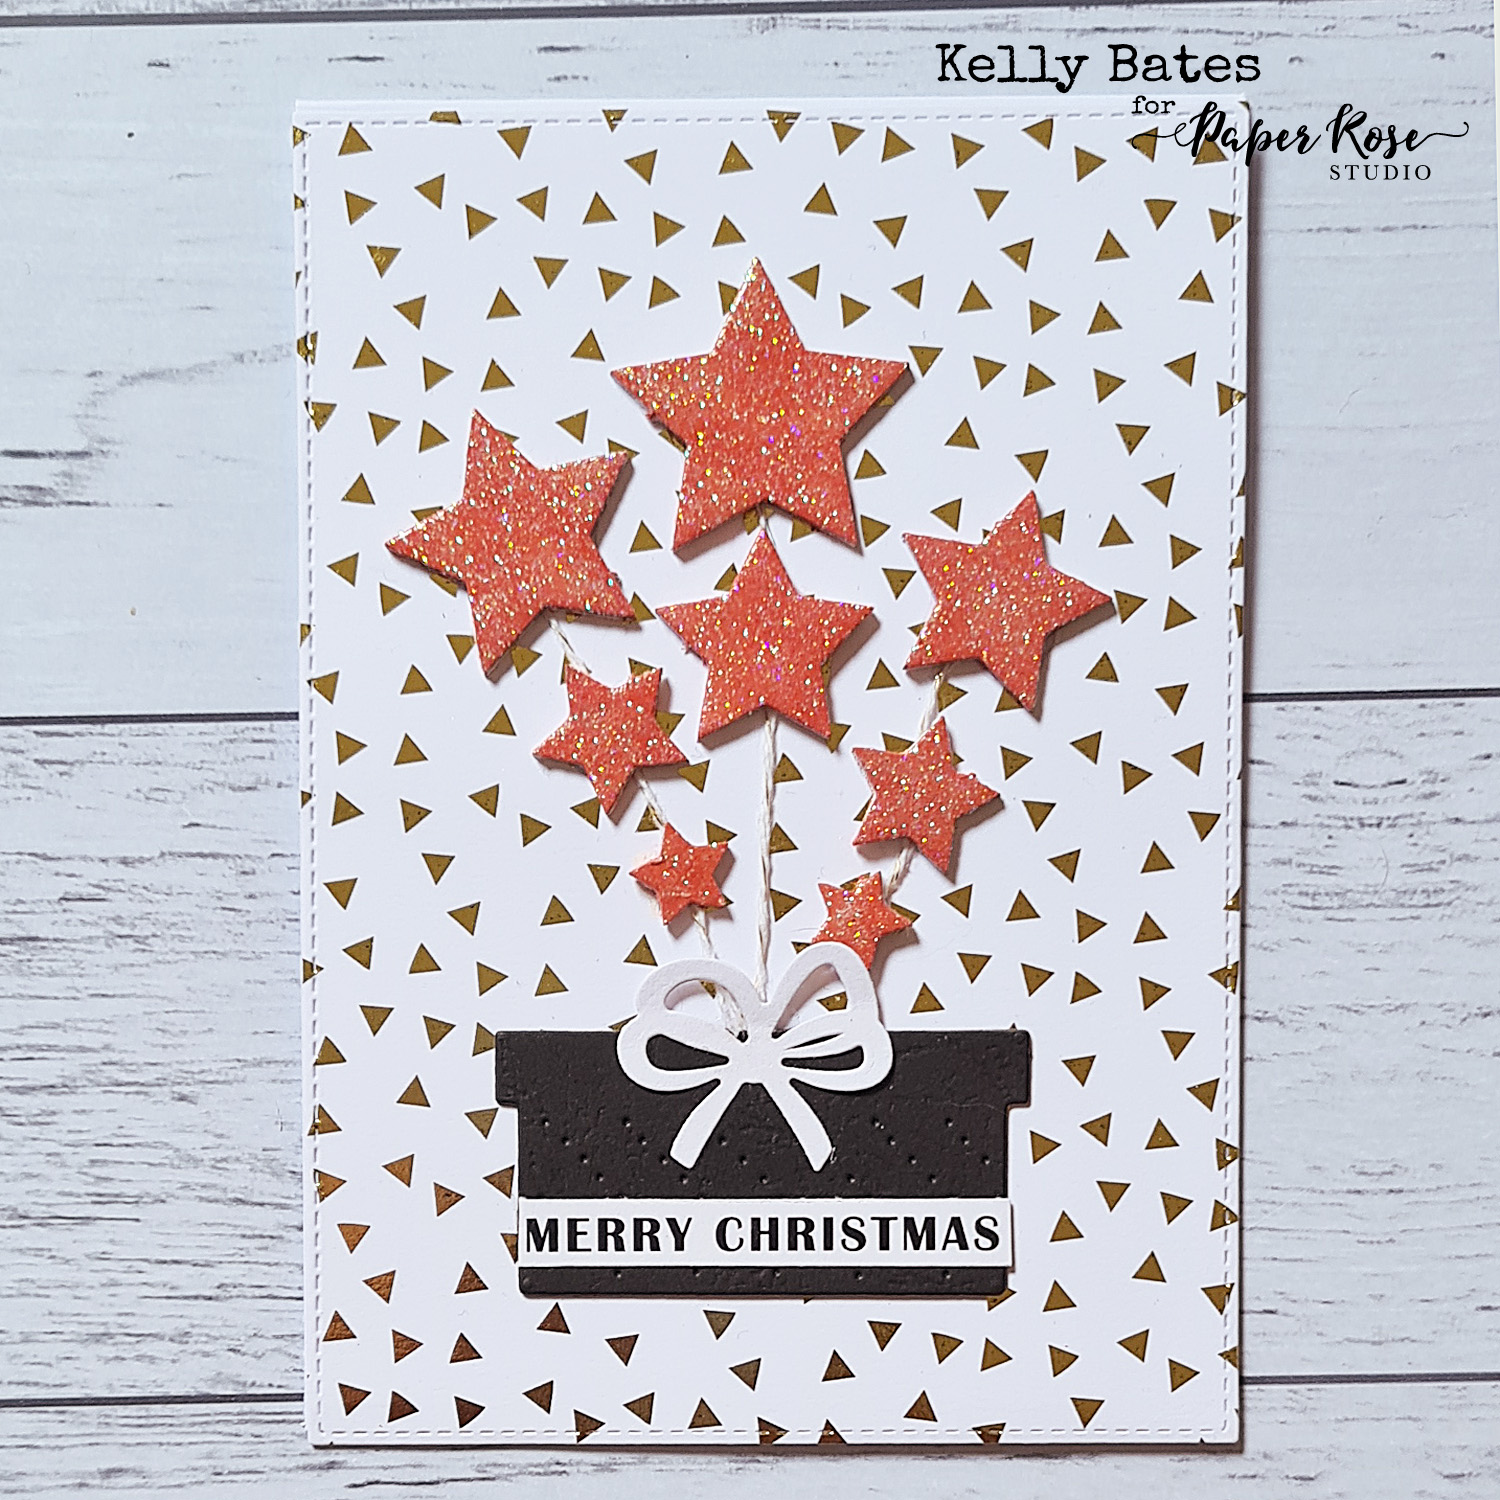
Paper Rose Products used: Lots of Presents Die Set, Stitched Rectangles Nesting Die Set, Gold basics 1.1 12×12 Paper Collection, Stars Chipboard, Crisp Christmas Sentiment Sheets, Glue
Other products used: A4 sheet White Cardstock (300gsm), black cardstock, twine, white acrylic paint, Candied Apple Distress Oxide, Wow! Embossing Clear Sparkle embossing powder.
Technique:
- Pop out chipboard stars and cover in a light layer of white acrylic paint (I use a triangle makeup sponge for perfect coverage), set aside to dry (about 15 minutes), cover in a second layer of white paint and set aside for a few hrs (preferably overnight). Cover in Candied Apple Distress Oxide, then sprinkle on Clear Sparkle embossing powder and heat set. Set aside to cool.
- Die cut present box from black cardstock twice and glue together, the bow from white and glue sentiment to front of present.
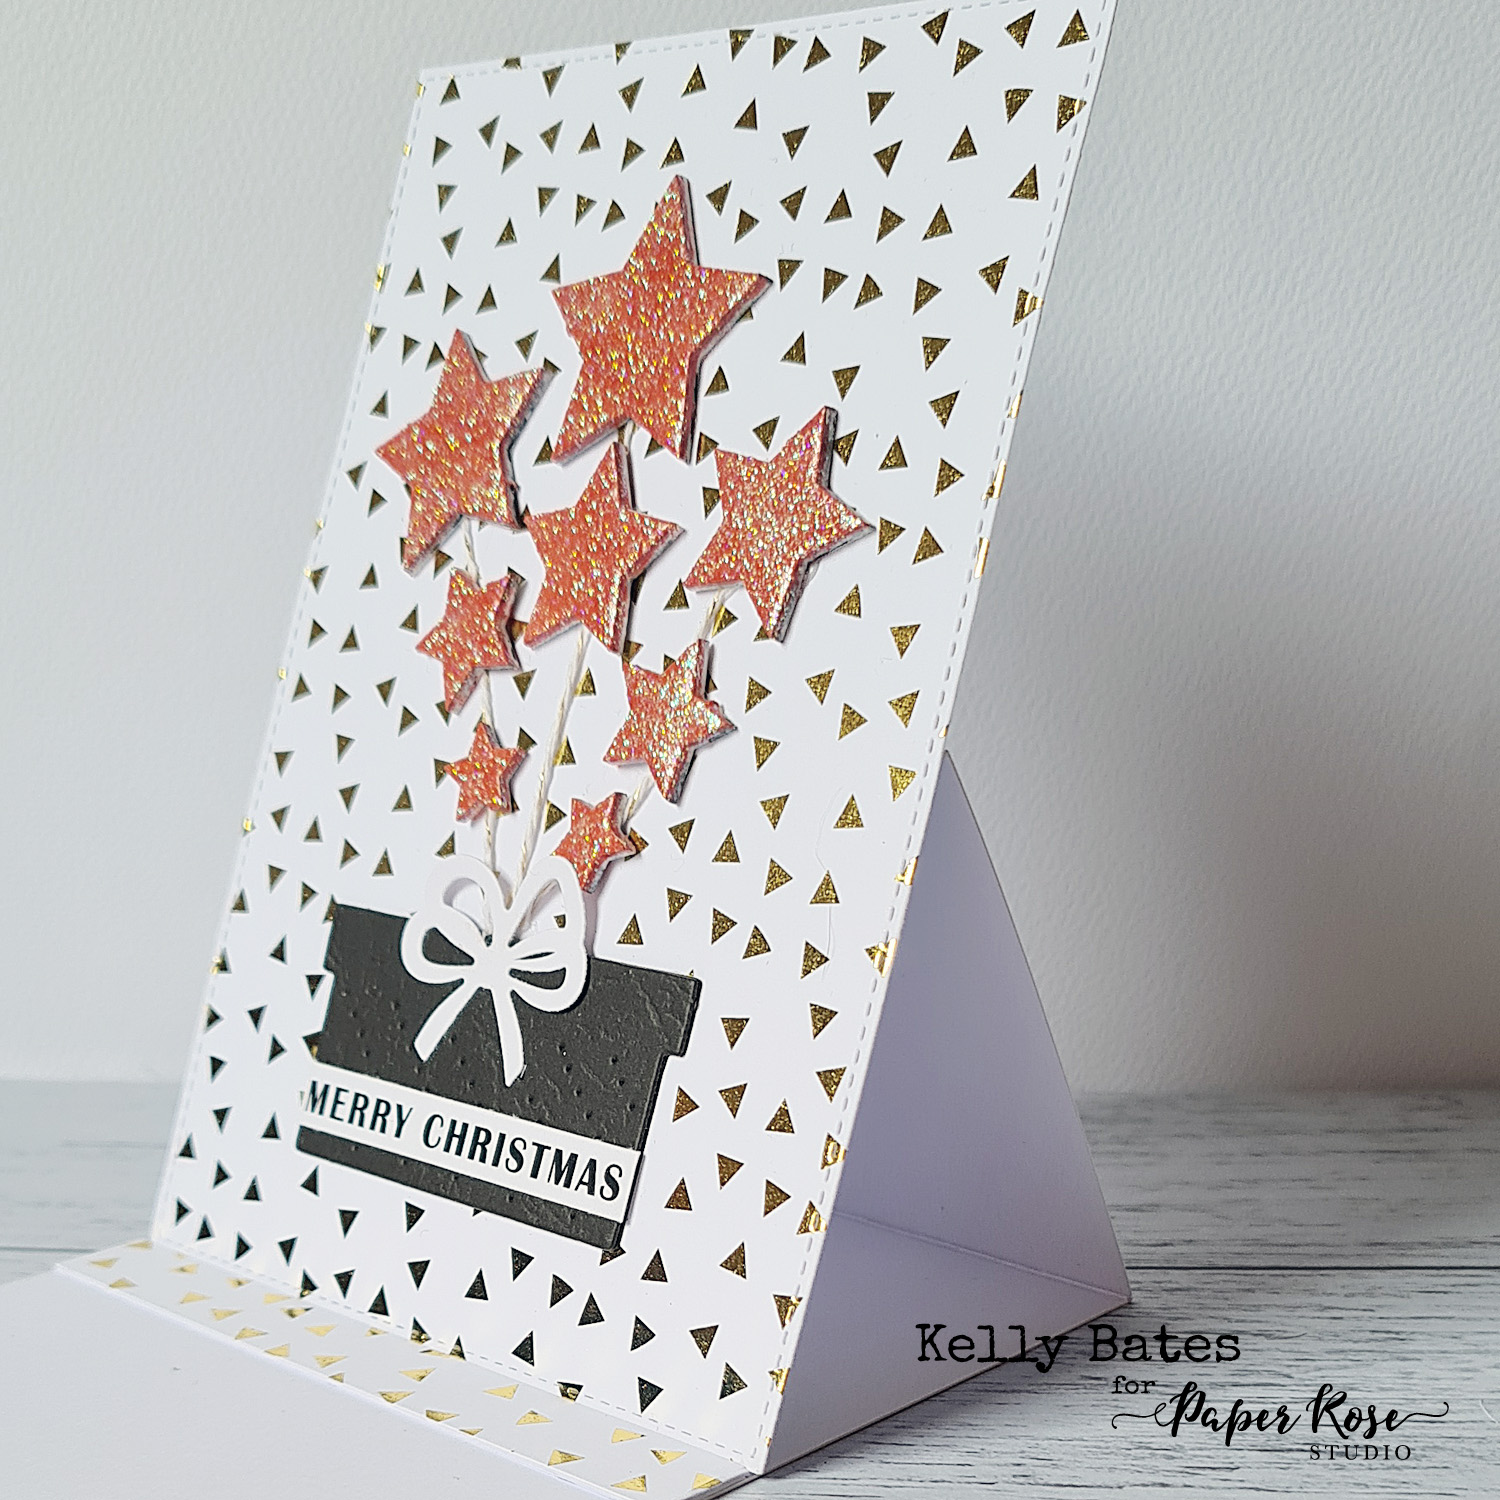
- Cut A4 cardstock in half length wise, fold at the half way point, then fold the front of the card in half again. Cut a piece of the cardstock to be just smaller than the largest stitched rectangle die cut and cut 2 strips of cardstock measuring 1.3cm x 10.5xm and glue these together.
- Cut largest rectangle die from the triangle piece of Gold Basics patterned paper and glue to white panel just smaller than it. Cut one piece of triangles paper 1.3cm x 10.5cm and glue on top of white strip.
To assemble: Glue bottom half of triangles panel to the bottom half of your card front under the fold line. Stand the front up and glue your cardstock strip to the inside of the card where you’d like the easel to sit. Flatten the card, add present box, then 3 twine strands, glue stars into place and finally add your bow

Leave a comment