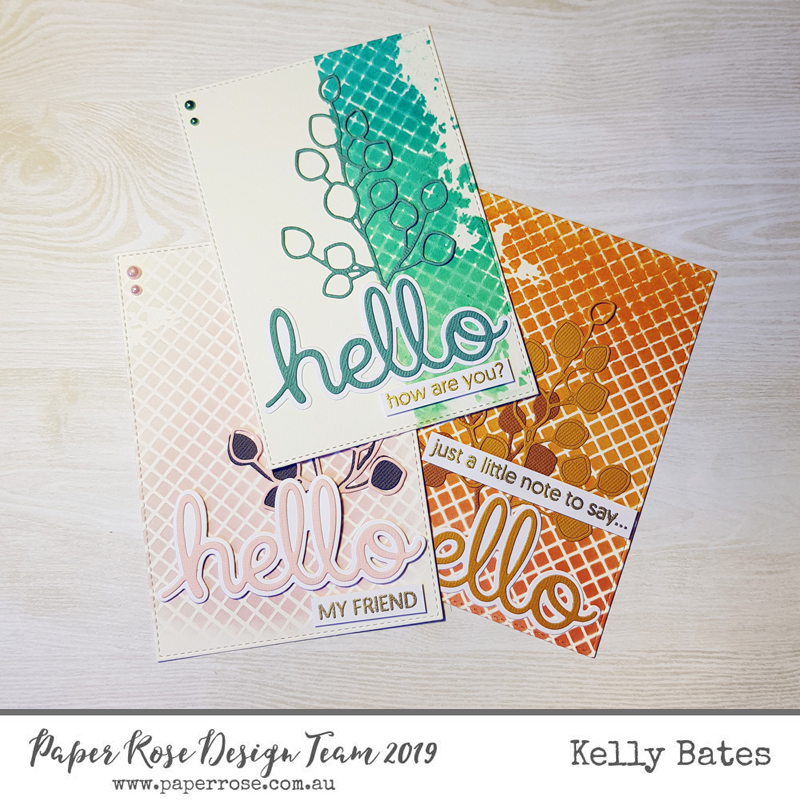
Hello Cards - Kelly Bates
Hello friends, welcome back for another Paper Rose Design team post. I can’t believe we’re half way through the year already, it’s gone so fast!
Today I’m sharing with you some of the newest goodies from Paper Rose, as well as bringing out my favourite sentiments from them as well.
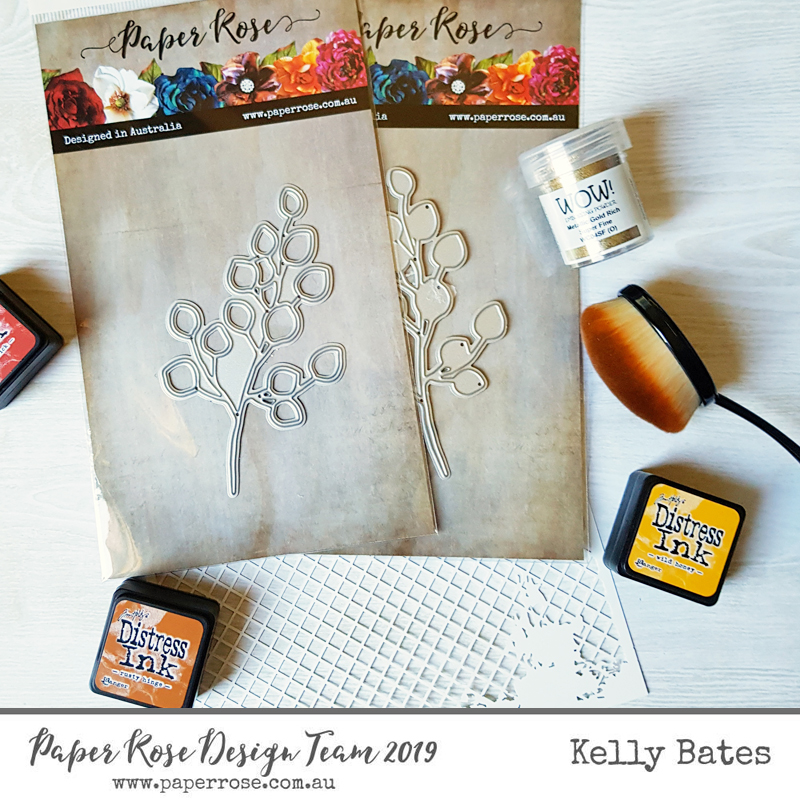
To recreate the cards, you’ll need the following goodies:
- Paper Rose Distressed Mesh Stencil
- Paper Rose Baby Blue Medium Eucalyptus Branch Metal Die
- Paper Rose Baby Blue Outline Medium Eucalyptus Branch Metal Die
- Paper Rose Stitched Rectangle nesting dies
- Paper Rose Hello Clear Stamp set
- Paper Rose Hello Layered Die set
- Distress Inks: Wild Honey, Rusty Hinge, Fired Brick, Mermaid Lagoon, Peacock Feathers, Cracked Pistachio and Worn Lipstick.
- Ink blending tool/brush (I picked up an oval brush from Daiso to test out, and love it!)
- Versamark ink, anti static tool, Wow Embossing Metallic Gold Rich Superfine powder, heat tool
- Foam tape and liquid glue.
- 3 11x15cm panels of ink blending friendly cardstock – I’ve used Strathmore Bristol Smooth
- 10x20cm piece of smooth white cardstock
- Coordinating cardstock colours to your ink for the leaves and hello’s.
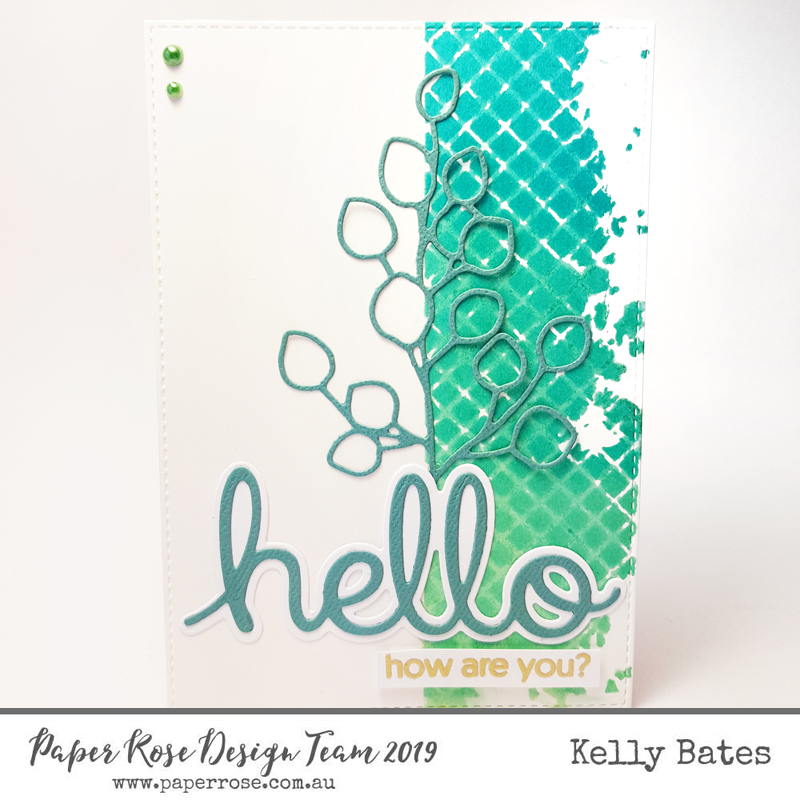
For Card One:
- Take your first panel of ink blending cardstock and line your stencil up on the right hand side.
- Tape down with washi or use something like Pixie Spray to temporarily adhere your stencil to your paper.
- Put a piece of paper/purple tape down where you’d like the ink to stop.
- Using your ink blending tool/brush, start with your lightest colour, then blend into your second colour, and finish off with your third and darkest colour.
- On this card I’ve started with Cracked Pistachio, gone into Peacock Feathers and finished with Mermaid Lagoon. Set aside to dry.
- Cut your Outline Leaf Die and Hello from your coordinating cardstock – I’m using Kaisercraft Seafoam – and also cut your layering background from the white panel.
- Choose your sentiment from the Hello stamp set and heat emboss that onto a small piece of the white cardstock as well.
- Once your panel is dry, cut a stitched rectangle from it – I’ve used the second largest – then assemble your card. I’ve glued the Hello down, and then used foam tape behind the “how are you?”.
- Finish off with a couple of green pearls in the top left corner.
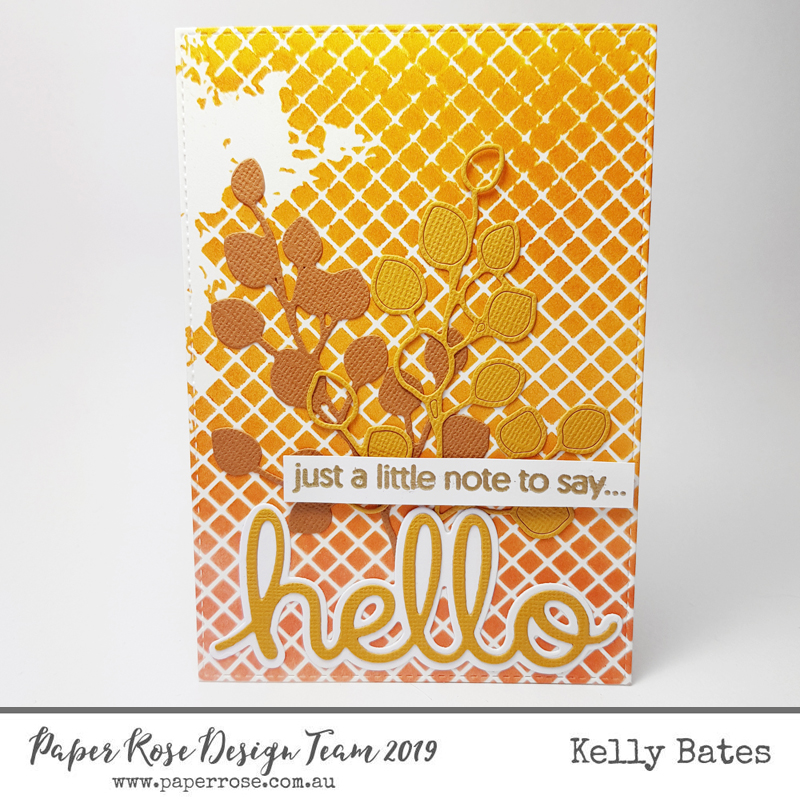
For Card Two:
- Take your next panel of ink blending cardstock and line your stencil up on the top left hand corner. Tape down with washi or use something like Pixie Spray to temporarily adhere your stencil to your paper.
- Put a piece of paper/purple tape down where you’d like the ink to stop.
- On this card I’ve started ink blending with Wild Honey, gone into Rusty Hinge and finished with Fired Brick. Set aside to dry.
- Cut your Leaf Dies and Hello from your coordinating cardstock – I’m using Kaisercraft Mustard and Downunder Direct Sepia- and also cut your layering background from the white panel.
- Choose your sentiment from the Hello stamp set and heat emboss that onto a small piece of the white cardstock as well.
- Once your panel is dry, cut a stitched rectangle from it – I’ve used the second largest – then assemble your card. I’ve glued the Hello down, and then used foam tape behind the “just a little note to say”.
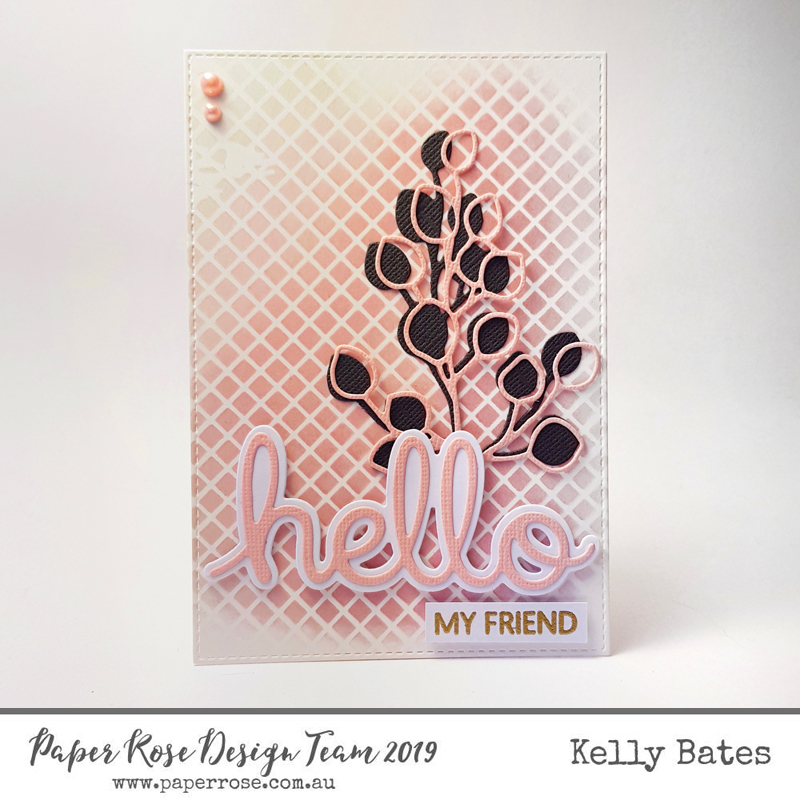
For Card Three:
- Take your last panel of ink blending cardstock and centre it to the stencil. Tape down with washi or use something like Pixie Spray to temporarily adhere your stencil to your paper.
- For this card I’ve only used Worn Lipstick but have applied varying degrees of pressure to get the faded look. Set aside to dry.
- Cut your Leaf Dies and Hello from your coordinating cardstock – I’ve used Ultimate Crafts Fairy Floss and Chasm – and also cut your layering background from the white panel.
- Choose your sentiment from the Hello stamp set and heat emboss that onto a small piece of the white cardstock as well.
- Once your panel is dry, cut a stitched rectangle from it – I’ve used the second largest – then assemble your card. I’ve used foam tape behind both the hello and the sentiment strip. I’ve finished off with a couple of pink pearls in the top left corner.
Till Next Time
Kellie
Leave a comment