Clean & Simple Christmas - Kelly Bates
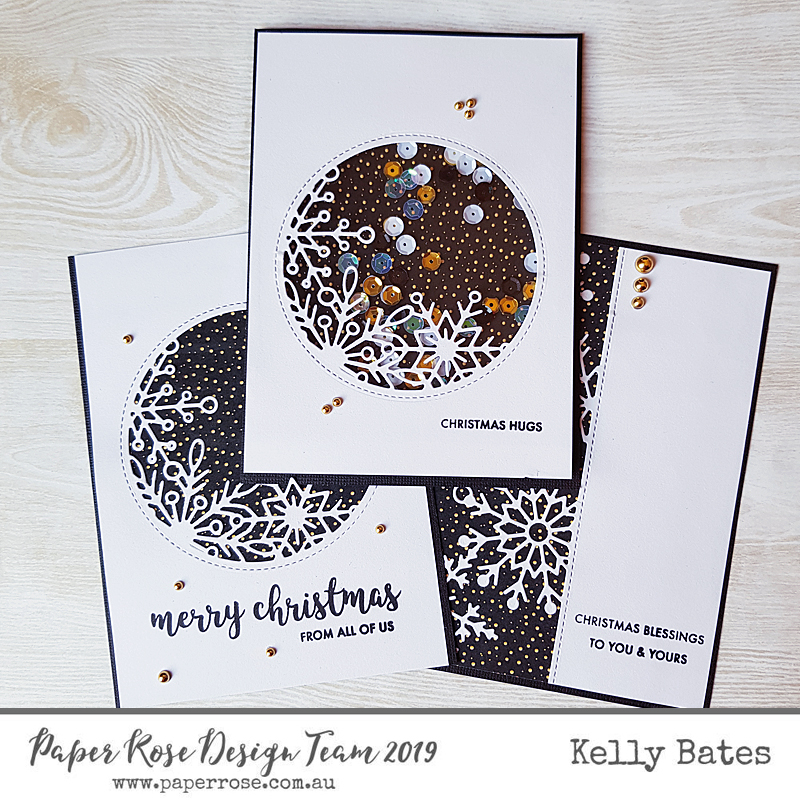
Hello lovelies! My next set of Christmas cards is using the gorgeous Festive Basics Paper Pack, now available at Paper Rose (link below to purchase), as well as 2 of their latest dies! I’m loving the clean, simple look to these, they’re certainly an easy one to make bulk of in one sitting.

For this set of cards you’ll need the following goodies:
- Paper Rose Festive Basics Paper Pack
- Paper Rose Christmas Sentiments stamp set
- Paper Rose Snowflake Circle die
- Paper Rose Snowflake Border die
- 1 sheet of Neenah Classic Crest Solar White 80lb cut into 4 equal rectangles
- 3 black cardstock panels measuring 15cm x 11cm
- 1 square piece of acetate 10cm x 10cm
- Black ink (I’ve used Versafine Onyx Black)
- Sequin mix for shaker card
- Gold Bling Embellishments
- Die cut machine, liquid and foam tape.

Card One
I’ve die cut the Snowflake Circle die into my first panel of Neenah, raised slightly above the centre line. I’ve then stamped my sentiment on the panel and set aside to dry.
Taking my first piece of the Festive Basics paper, I’ve cut a 10.5cm square from it and then attached it to the back side of the Neenah panel covering up the hole. I’ve then mounted that to my first black panel and finished it off with gold bling embellishments.

Card Two:
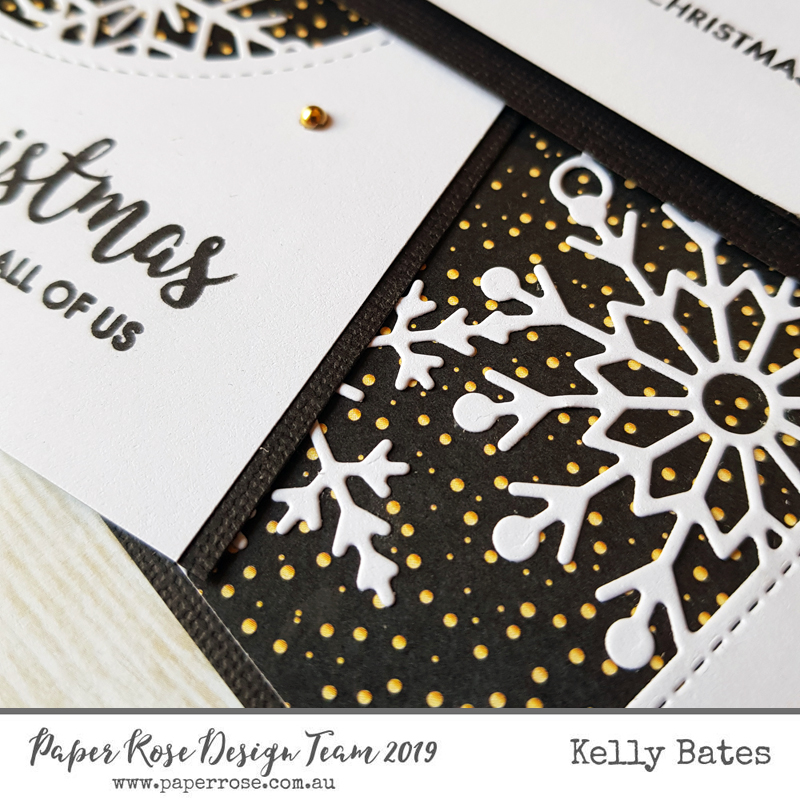
I’ve taken my next panel of Neenah and cut the snowflake bored die down the left hand side. I’ve then stamped my sentiment onto the panel and set aside to dry. I’ve then cut a strip of the Festive Basics Paper just wider than the die cut and glued it down, making sure to add drops of liquid glue behind the snowflakes so they sit flat. I’ve then trimmed the top and bottom of the panel to tidy the edges up and attached it to my next black panel. I’ve finished off with 3 gold embellishments.

Card Three:
I’ve stepped it up this time and decided to make a shaker card as I always love a bit of interaction! I’ve taken my third panel of Neenah and die cut the Snowflake Circle into it as in card one, stamped my sentiment and after allowing it to dry I’ve flipped it over and glued my piece of acetate behind the snowflake to create the window. I’ve then added foam tape all around the circle as well as to the edges of the white panel to sit it up on the base of the card. I’ve added a larger piece of my patterned paper over the circle frame then mounted the whole lot to my black panel. I flipped it over and added a few gold bling embellishments to finish the card.


Leave a comment